/
ARTY FreeRTOS Web Server
ARTY FreeRTOS Web Server
- Confluence Wiki Admin (Unlicensed)
Owned by Confluence Wiki Admin (Unlicensed)
Sept 24, 2018
ARTY FreeRTOS Web Server
Introduction
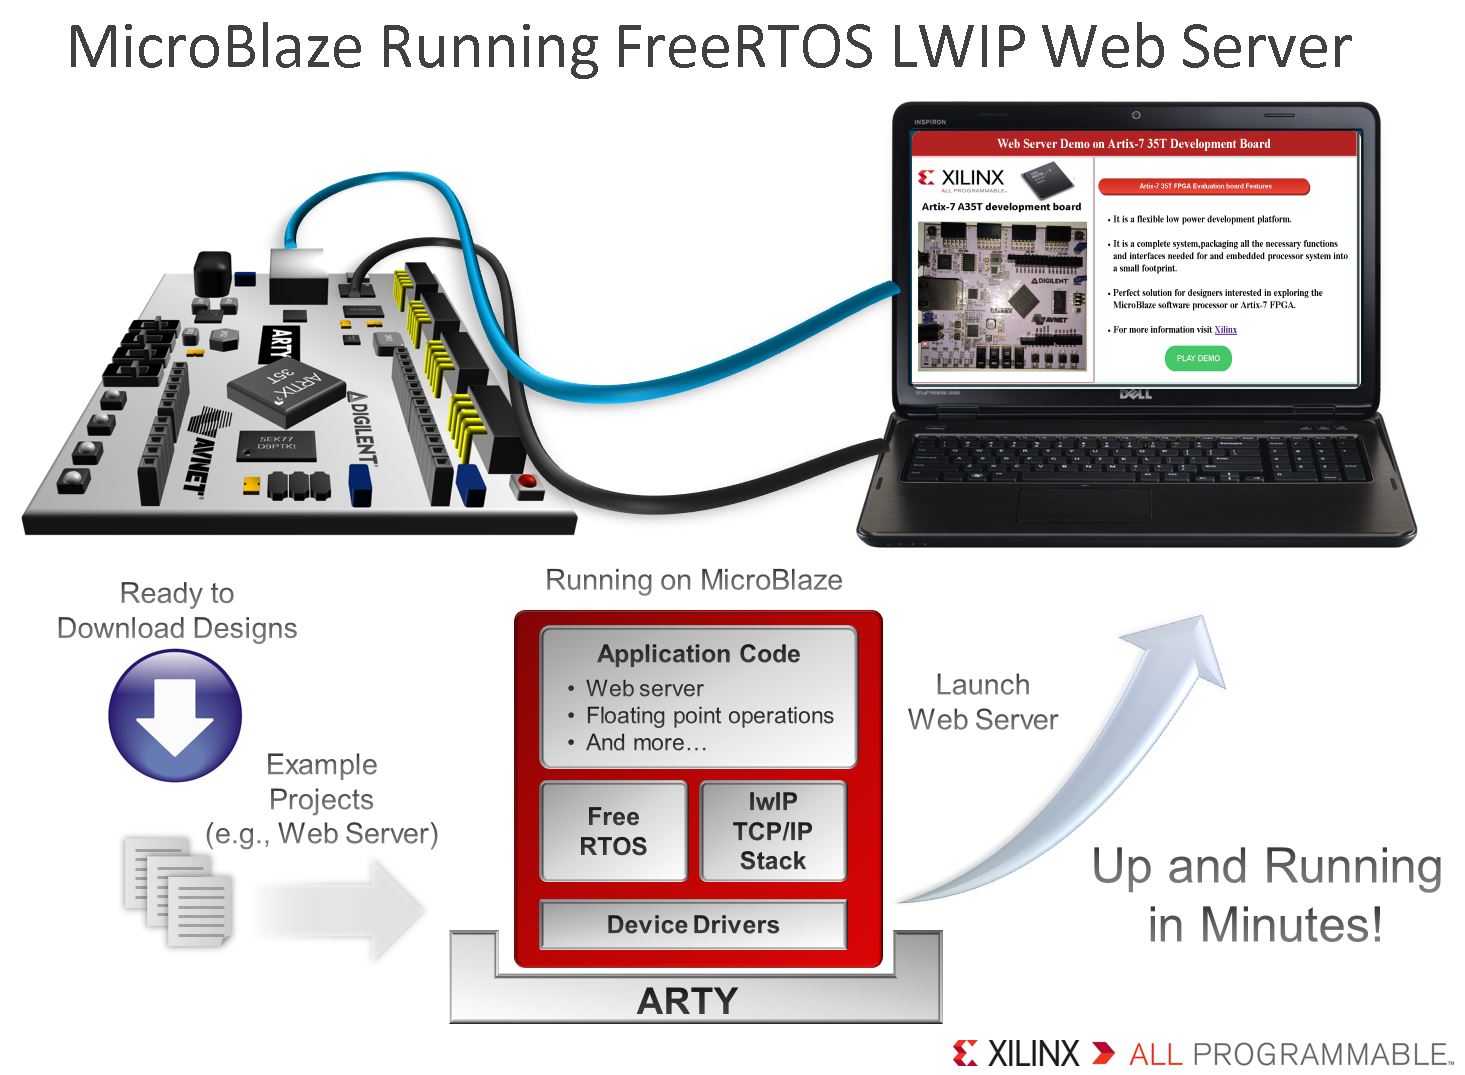
The $99 Arty Evaluation Kit enables a quick and easy jump start for embedded applications ranging from compute-intensive Linux based systems to light-weight micro-controller applications.Designed around the industry’s best low-end performance per-watt Artix®-7 35T FPGA from Xilinx. Arty kit features the Xilinx MicroBlaze™ Processor customizable for virtually any processor use case
Artix-7 FPGAs deliver high performance for cost sensitive applications. The ARTY evaluation board is a complete system, packaging all the necessary functions and interfaces neededfor an embedded processor system onto a small footprint. This board is the perfect solution for designers interested in exploring the MicroBlaze soft processor or Artix-7 35TFPGAs.
This WiKi document explains about the FreeRTOS Webserver demo on ARTY and targeting the Artix-7 35T FPGA. This demo uses the MicroBlaze soft-core processor,
a 10/100 Ethernet MAC, DDR3 Memory controller, and GPIO soft cores in Artix7 FPGA.
This Wiki document also explains the step by step procedure to execute the demo in JTAG debug mode and you can also boot from QSPI using the SREC boot loader.
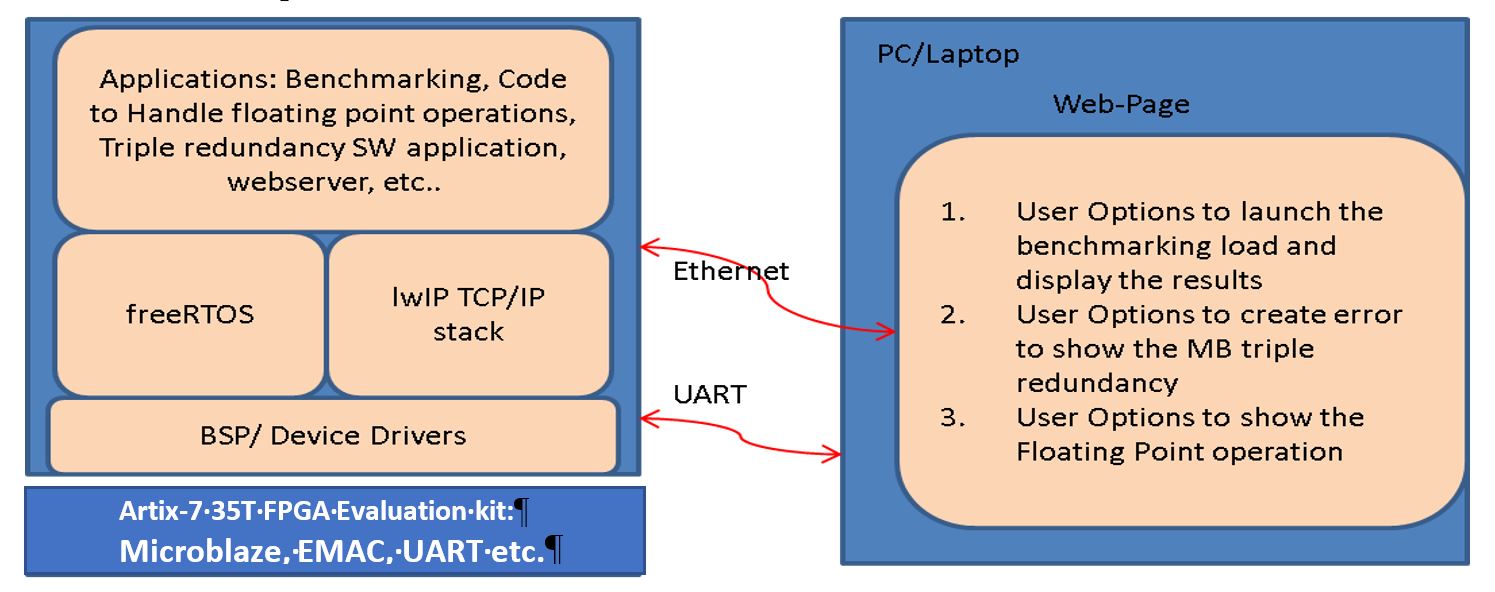
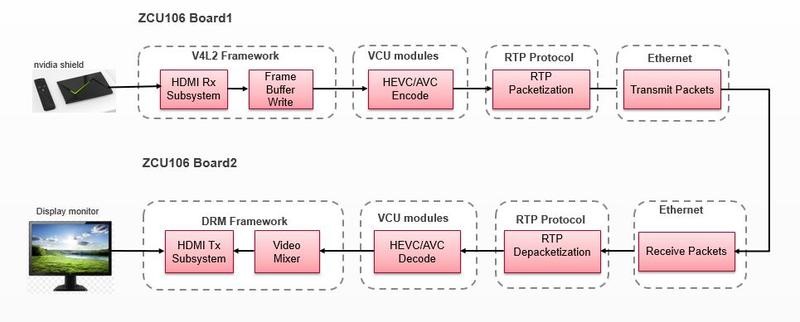
Following is the block diagram of the demo
Required Hardware
- ARTY Evaluation Kit
- USB-A-2-MicroB Cable
- Ethernet Cable
Required Software and Tools
- Xilinx Vivado Design Edition 2015.2 (should work in 2015.3 and newer as well, but was released on 2015.2)
Recommended Software and Tools
- Tera Term terminal program (any terminal program should work, but Xilinx has tested this application with TeraTerm)
Reference Design Files

- \HW - Contains vivado hardware design files.
- \SW - Contains FreeRTOS_Lwip_Webserver_Demo, it has webserver application and Echo server for jtag boot mode.
- \ready_for_download - Contains executable files for ready to test through XMD.
- \Workspace - This is an empty folder, user can import SDK SW folder workspace to this location.
- \memfs - Contains webserver image files and packaged library with name libmfsimage.a.
- \Arty_Board_Definition_Files - Contains ARTY Vivado board part files, these files are needed to create the hardware project using the Vivado.
- By default vivado 2015.2 installation not having ARTY Vivado board files. There is a doc folder which contains the steps on how to add board files to Vivado Project.
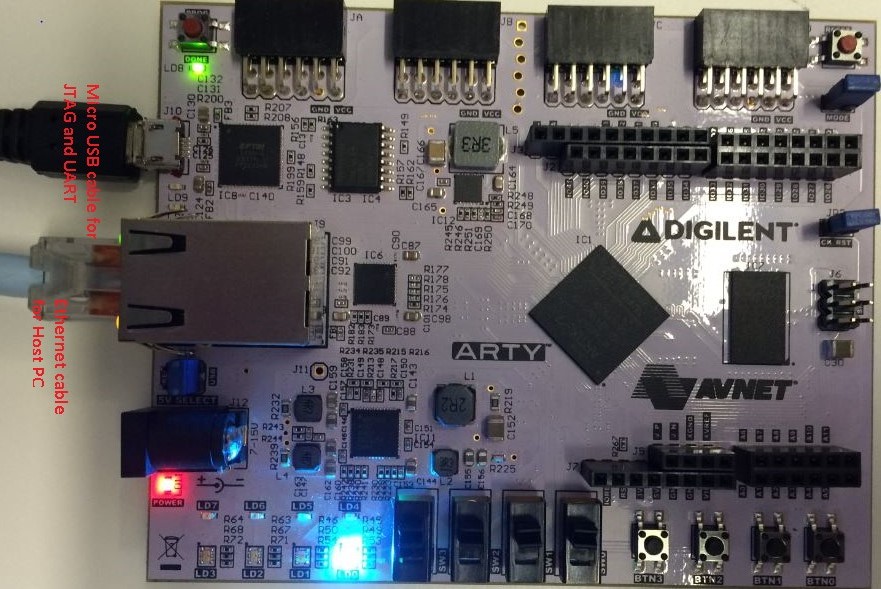
- Connect the Ethernet and micro-USB cables to the ARTy board and your PC
Sting up Static IP address
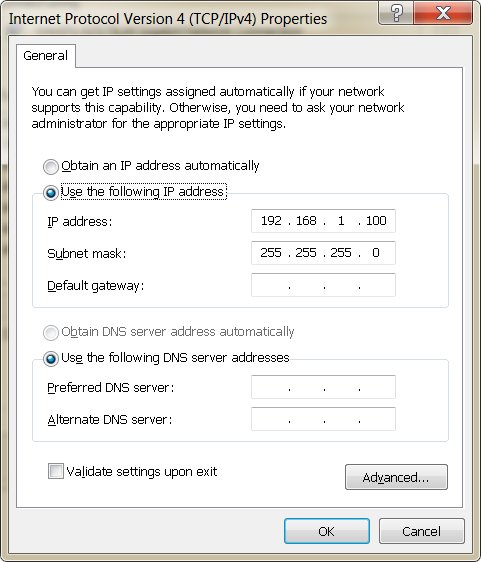
- Assign a static IP address to the Ethernet interface on the host PC/Laptop. (Refer below image)
- Click on Start > Control Panel > Network and Internet > Network and Sharing Center > Change adapter settings > Local Area Connection
- It will open Local Area Connection Status Window, In General tab, click on properties and Select Internet Protocol Version 4 (TCP/IPV4) properties
- Select Use the following IP address.
- Enter this address in IP address area: 192.168.1.xx (Ex: 192.168.1.100)
- Enter this address in Subnet mask area: 255.255.255.0
- Click OK, then Done
Extract the Zip File:
(Remember where you save it, we will be using this later in the walkthrough)
(Ctrl + Scroll to zoom in & out)

Browse for the ..\Artix7_35T\workspace folder (varies depending on where you download it.)


Serial>Serial port
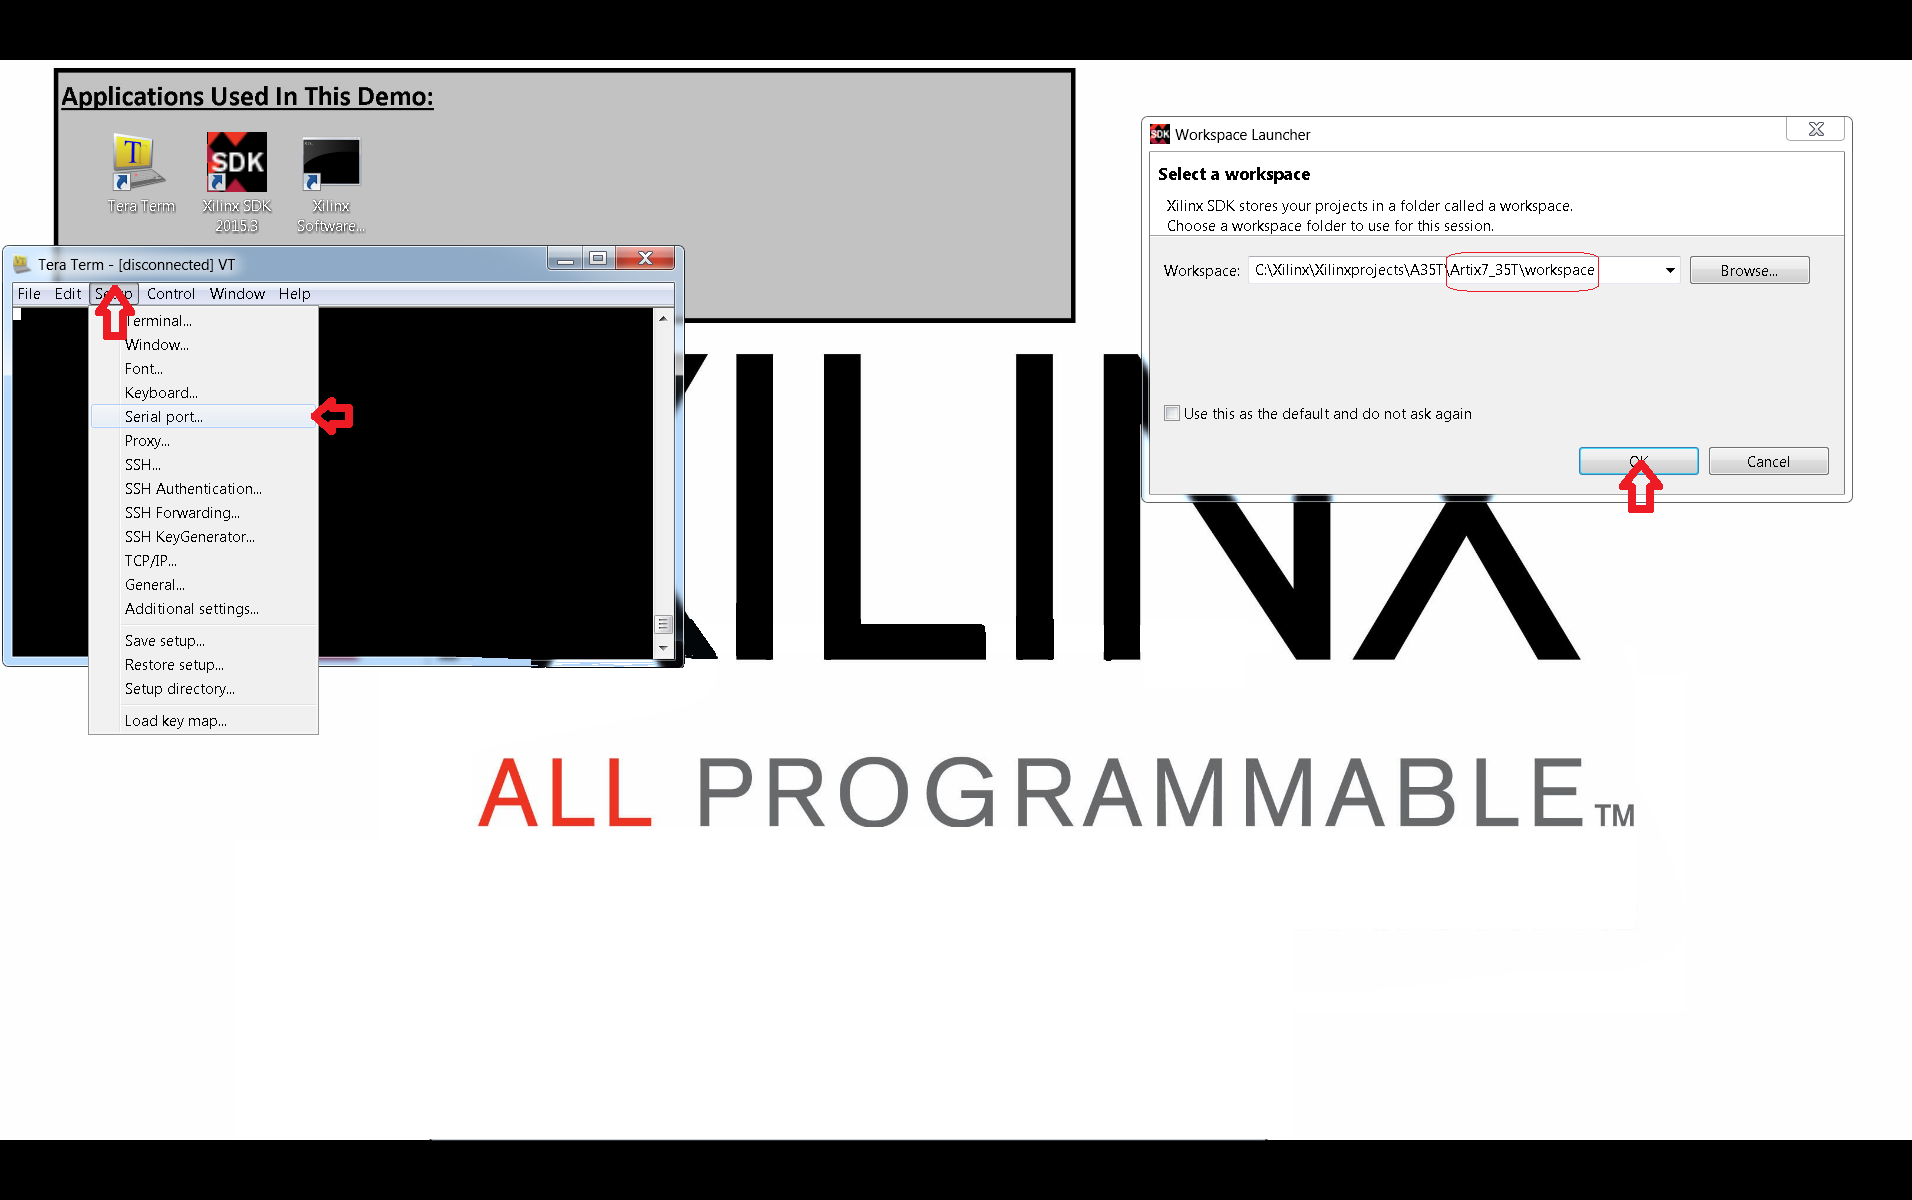
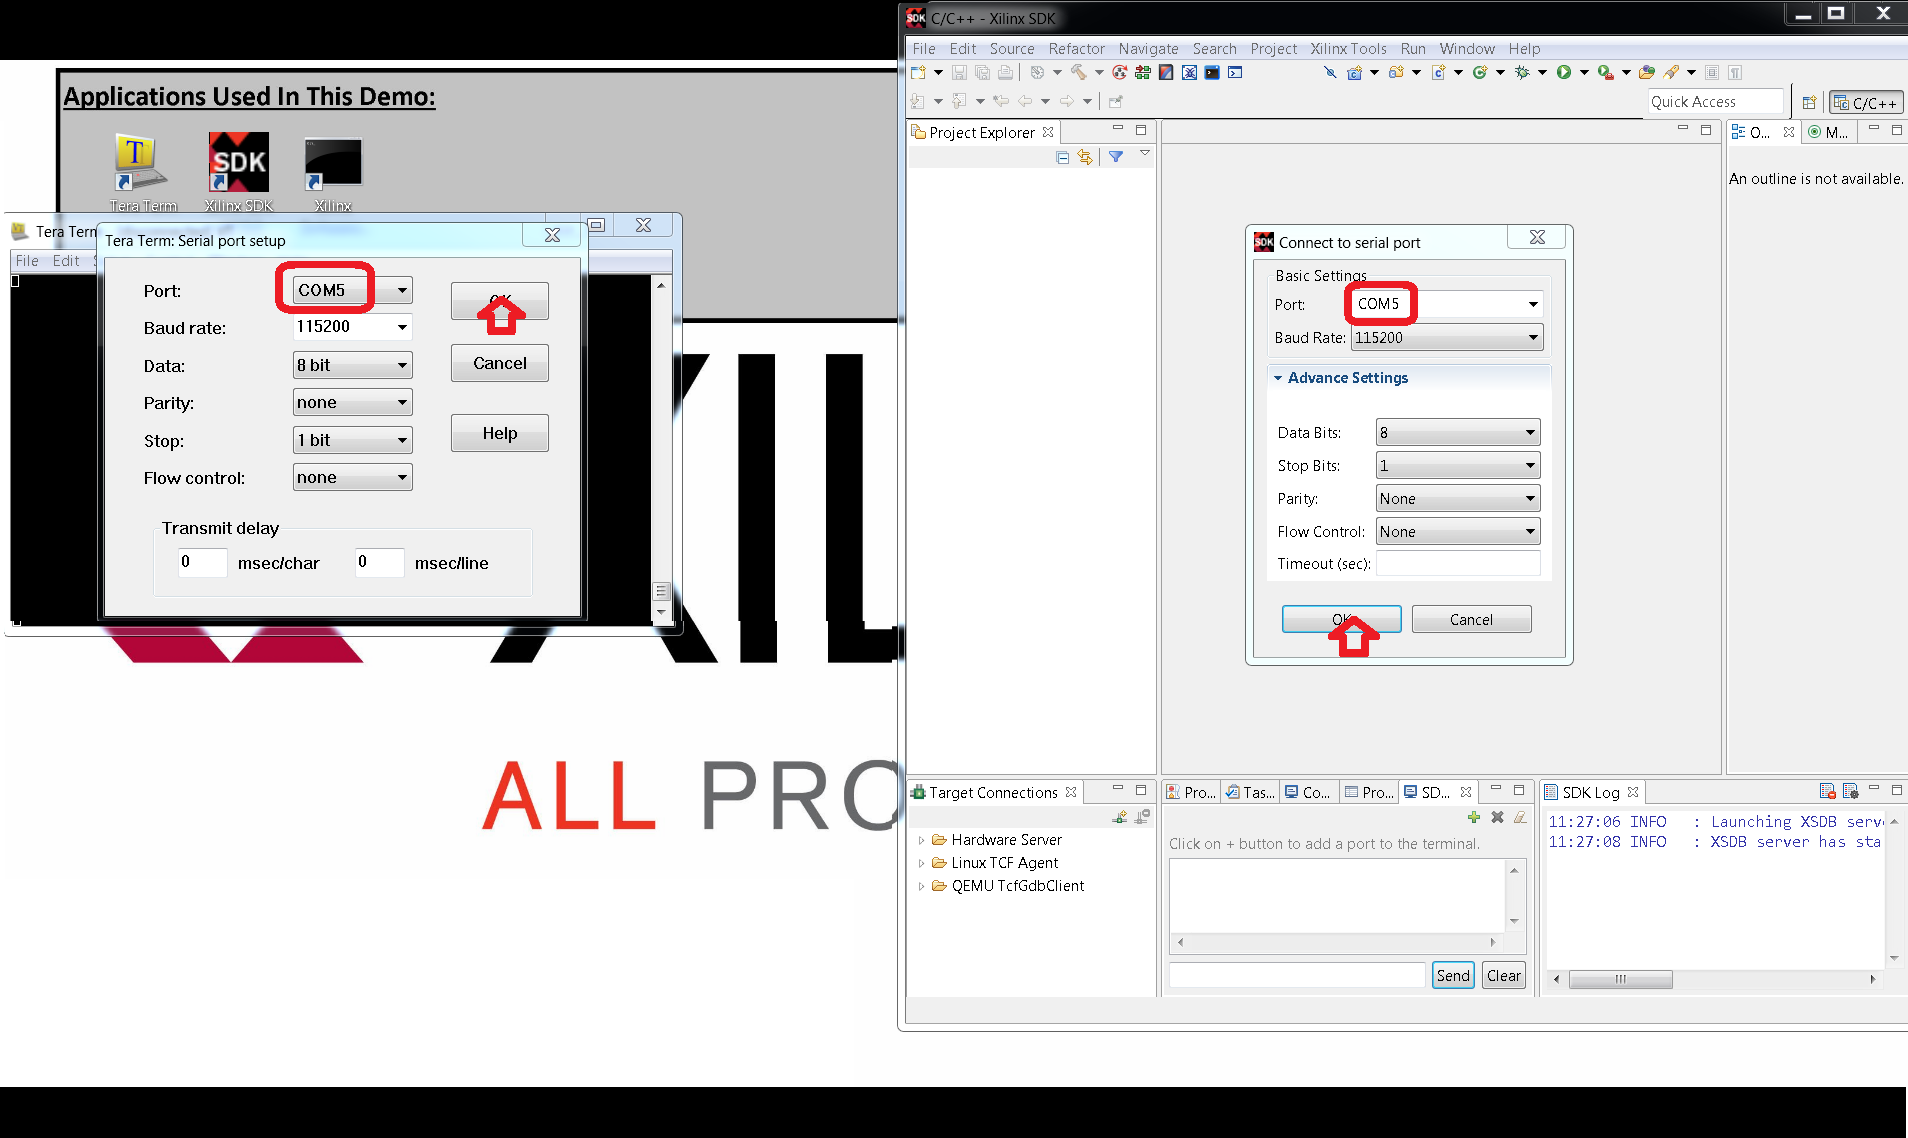
Change the COM to the correct Port, make sure it is the same as shown in the next step. And set the baud rate to 115200.
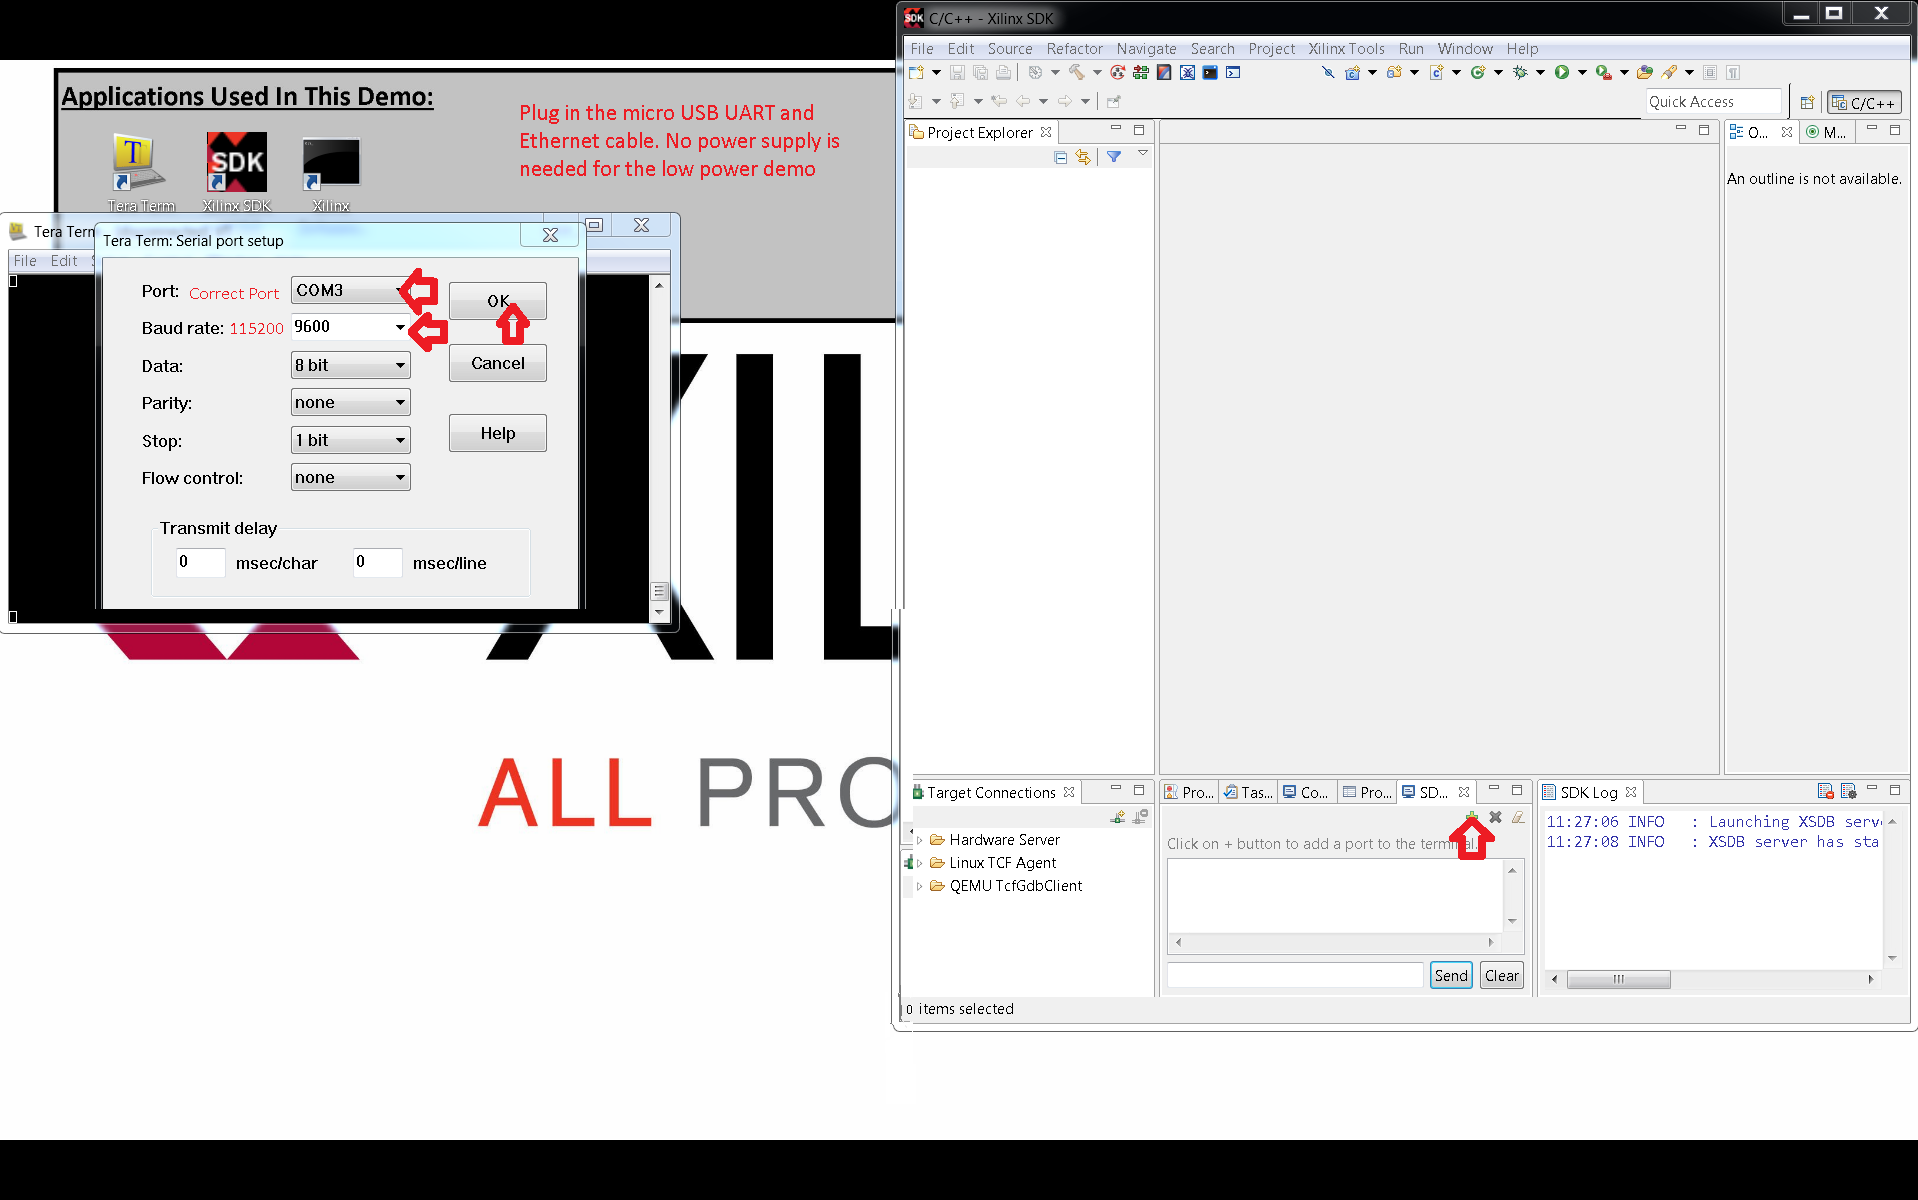
Connect to a Serial Port in the SDK. Double check all of the information is matching.
Verifying the USB COM port that has been assigned by the PC.
1) Open the START menu
2) Select my computer
3) Right mouse and select Properties
4) Select Device Manager
5) See that the ARTY board is connected to the USB Serial Port (COM 24).
In my case it is COM 24. Yours will probably be different. Note the COM port number, as you will need it when setting up the java GUI
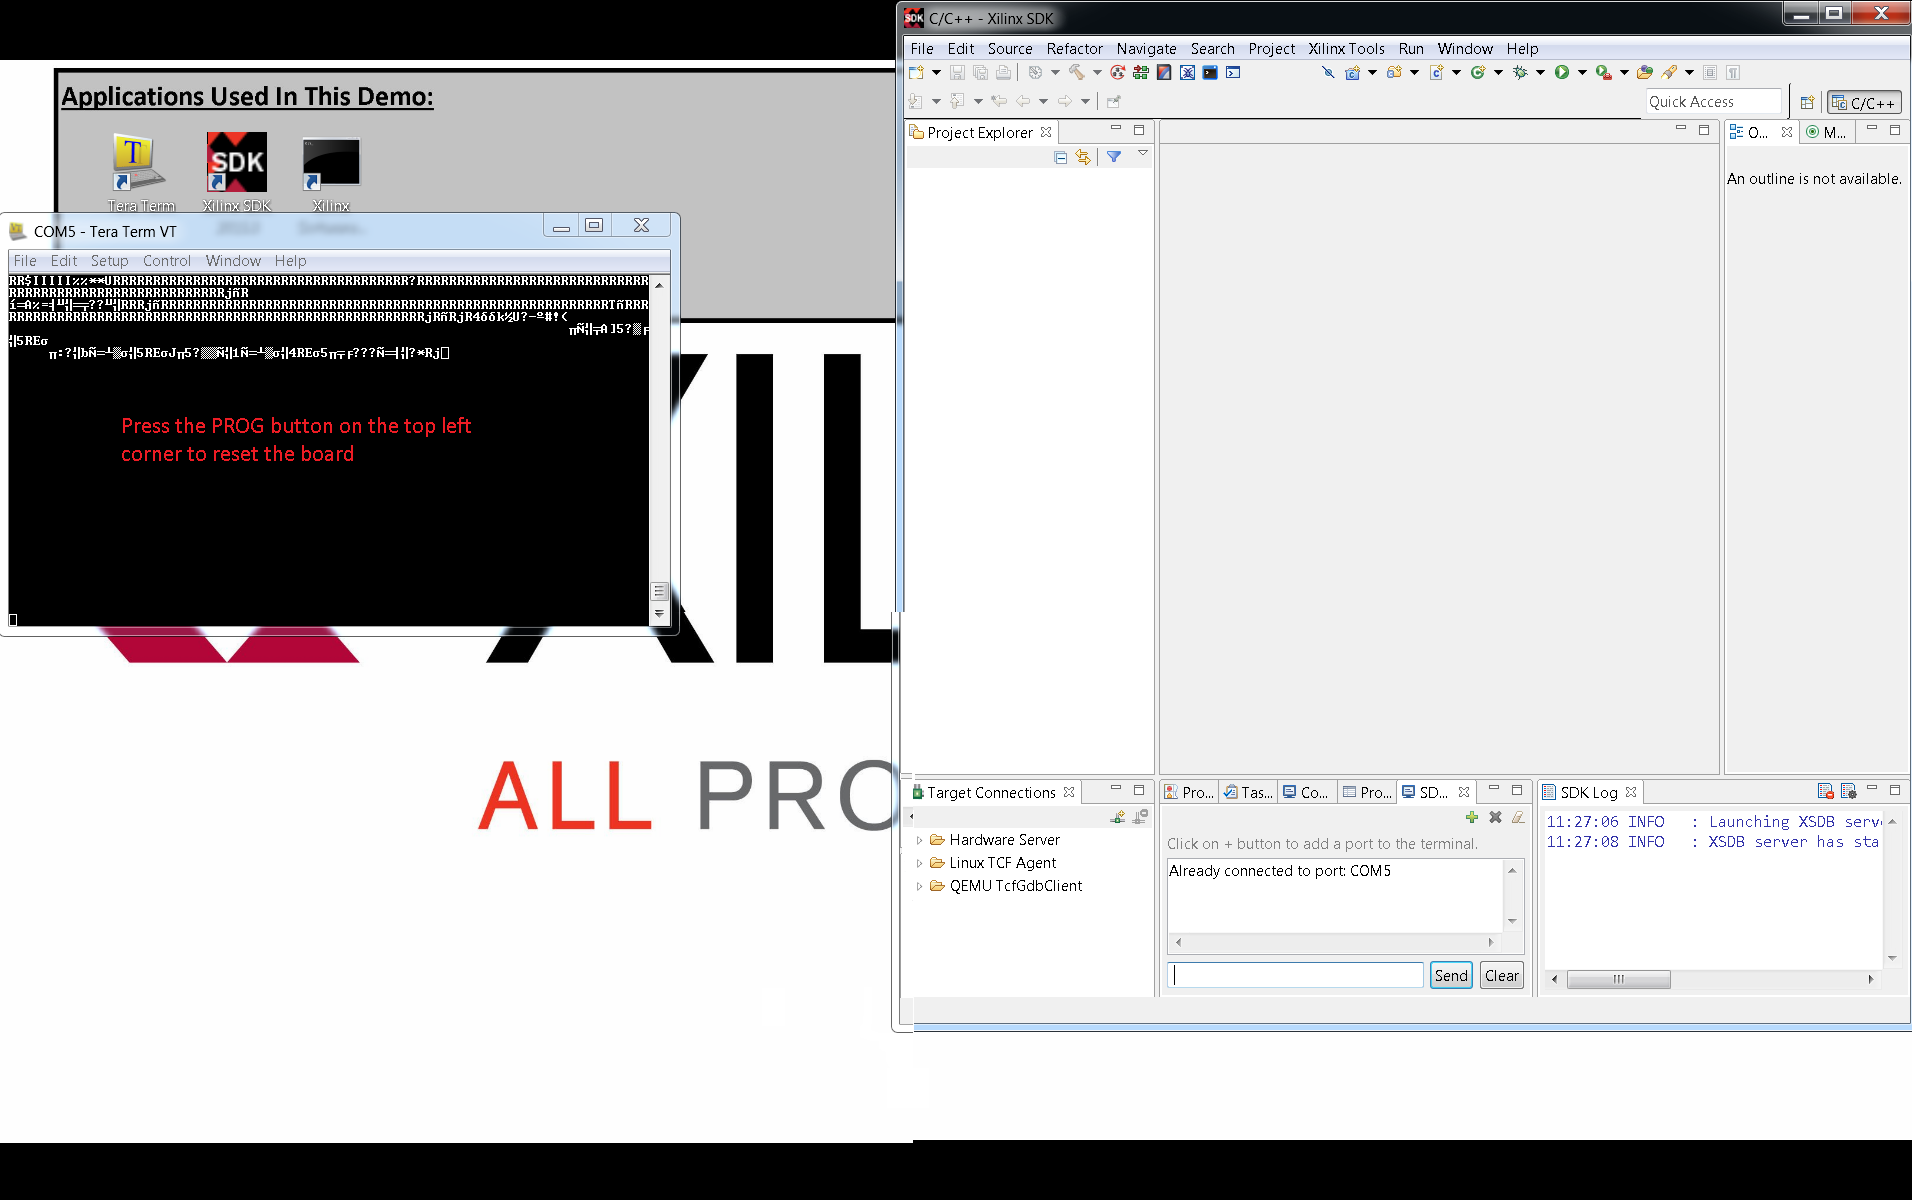
Reset board by pressing the PROG button at the top left of the board.
File>Import
General> Existing Projects into Workspace
Browse for the ..\Artix7_35T\SW folder (varies depending on where you download it).

Check “Copy projects into workspace”, and then click Finish
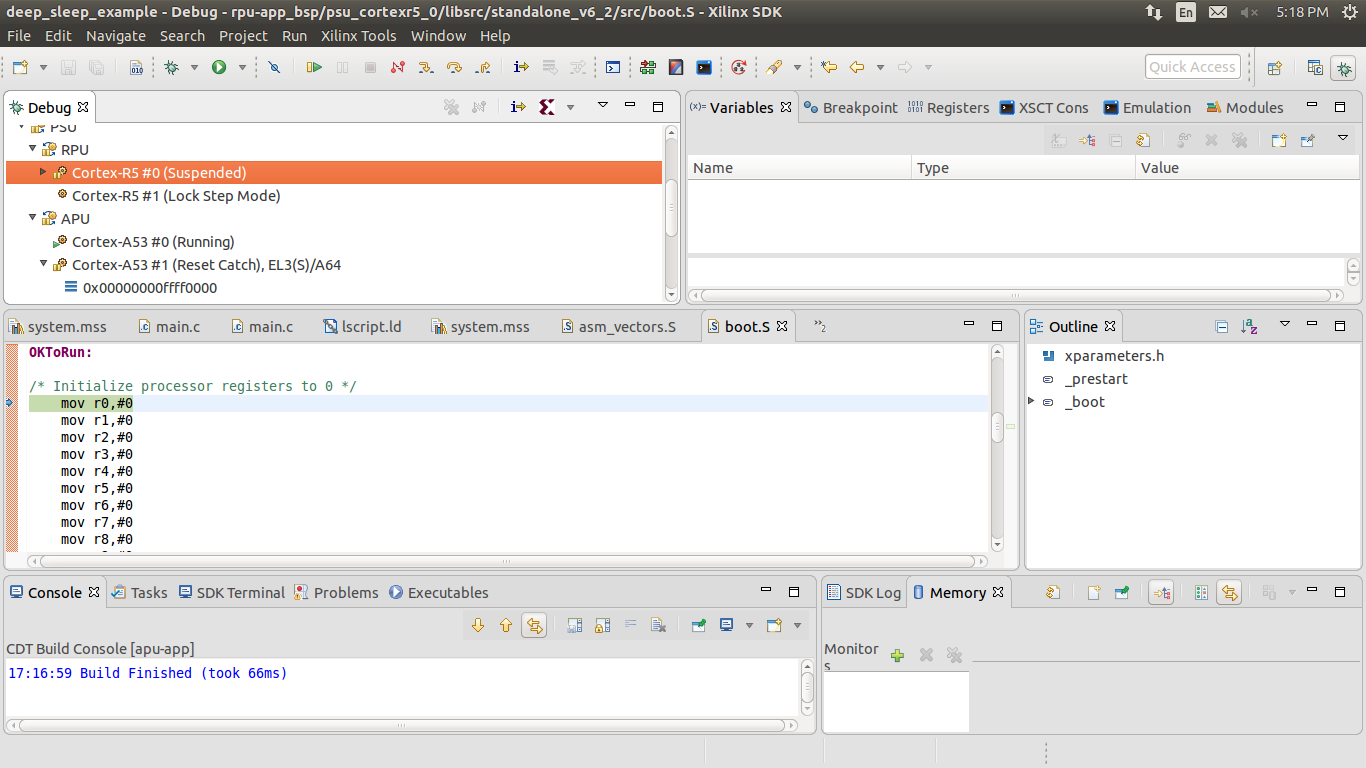
Next: Xilinx Tools> Program FPGA
Ensure the Bitstream and BMM/MMI File look similar. Then click program.
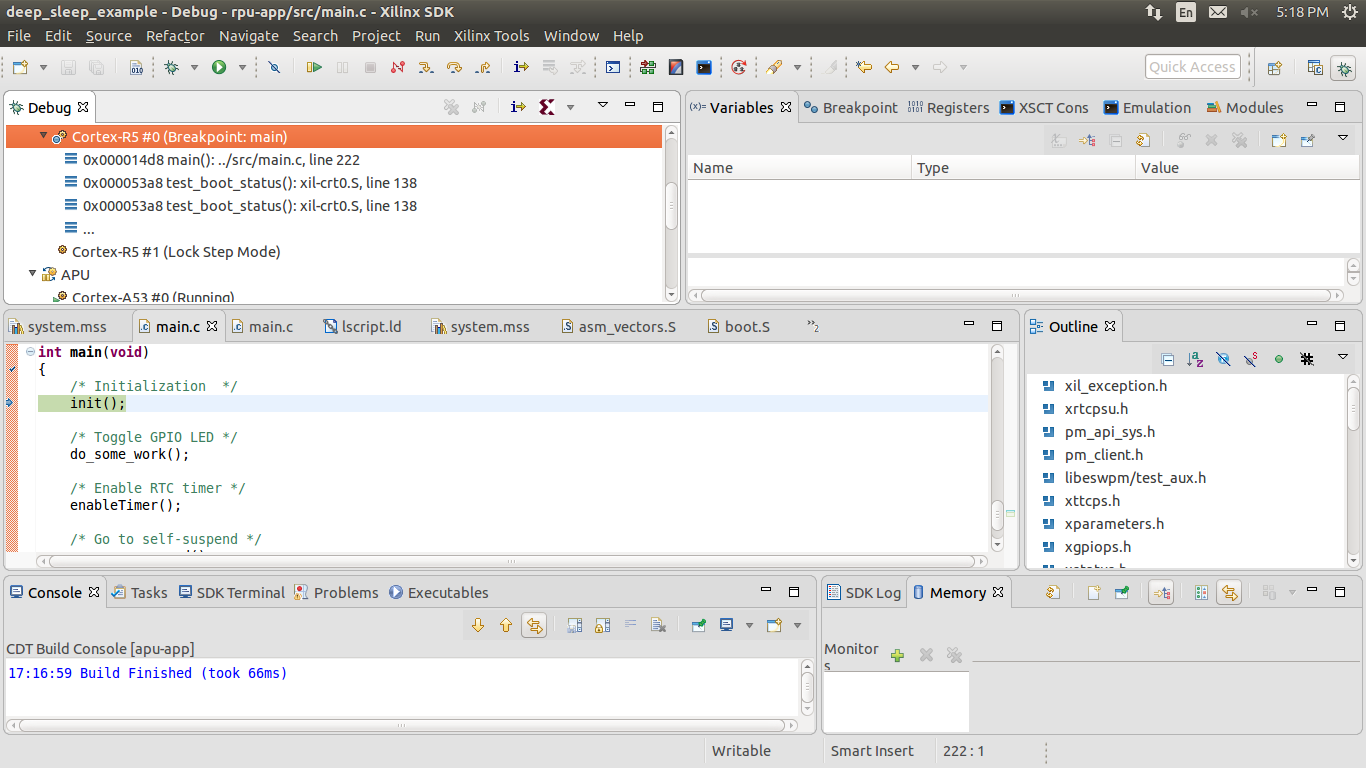
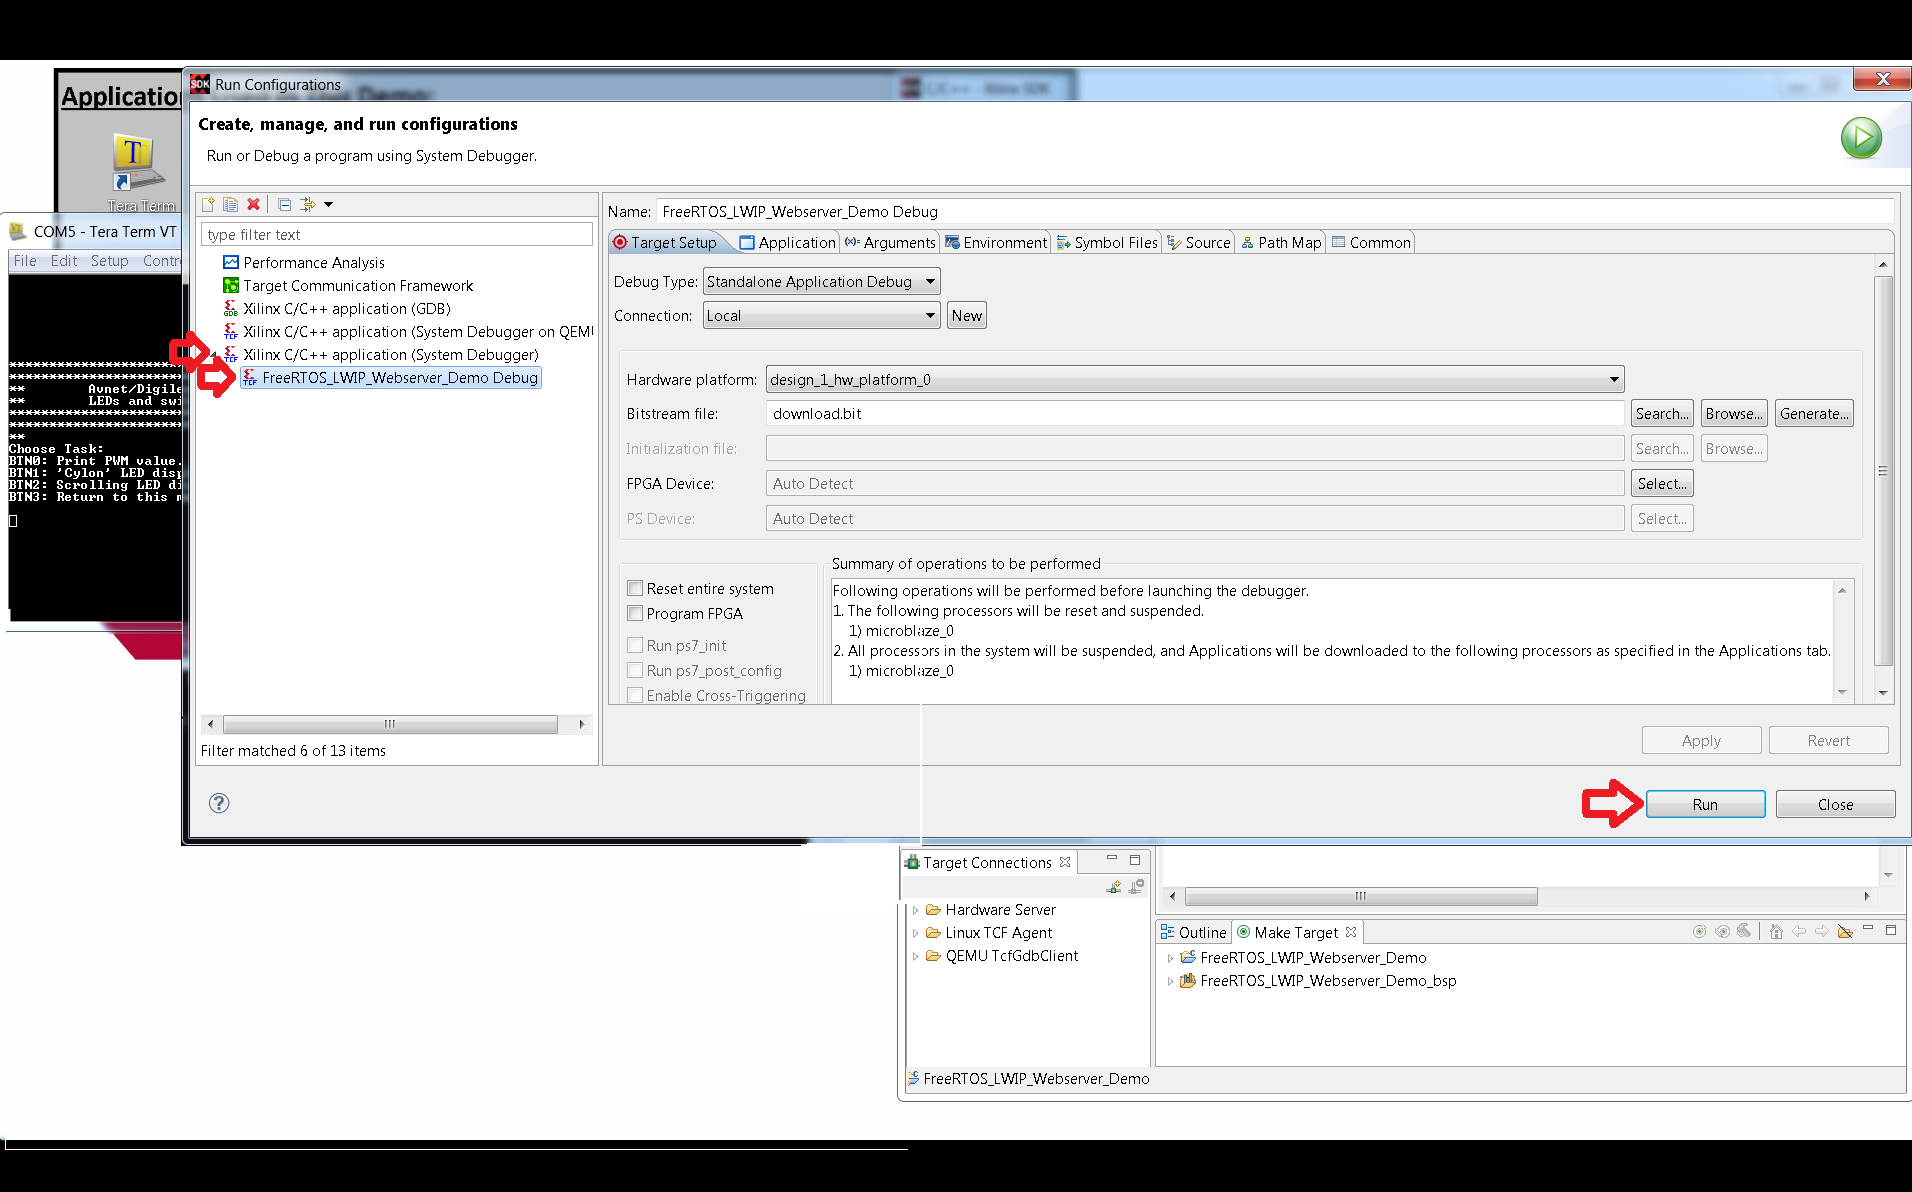
Right click on FreeRTOS_LWIP_Webserver_Demo>Run As> Run Configurations
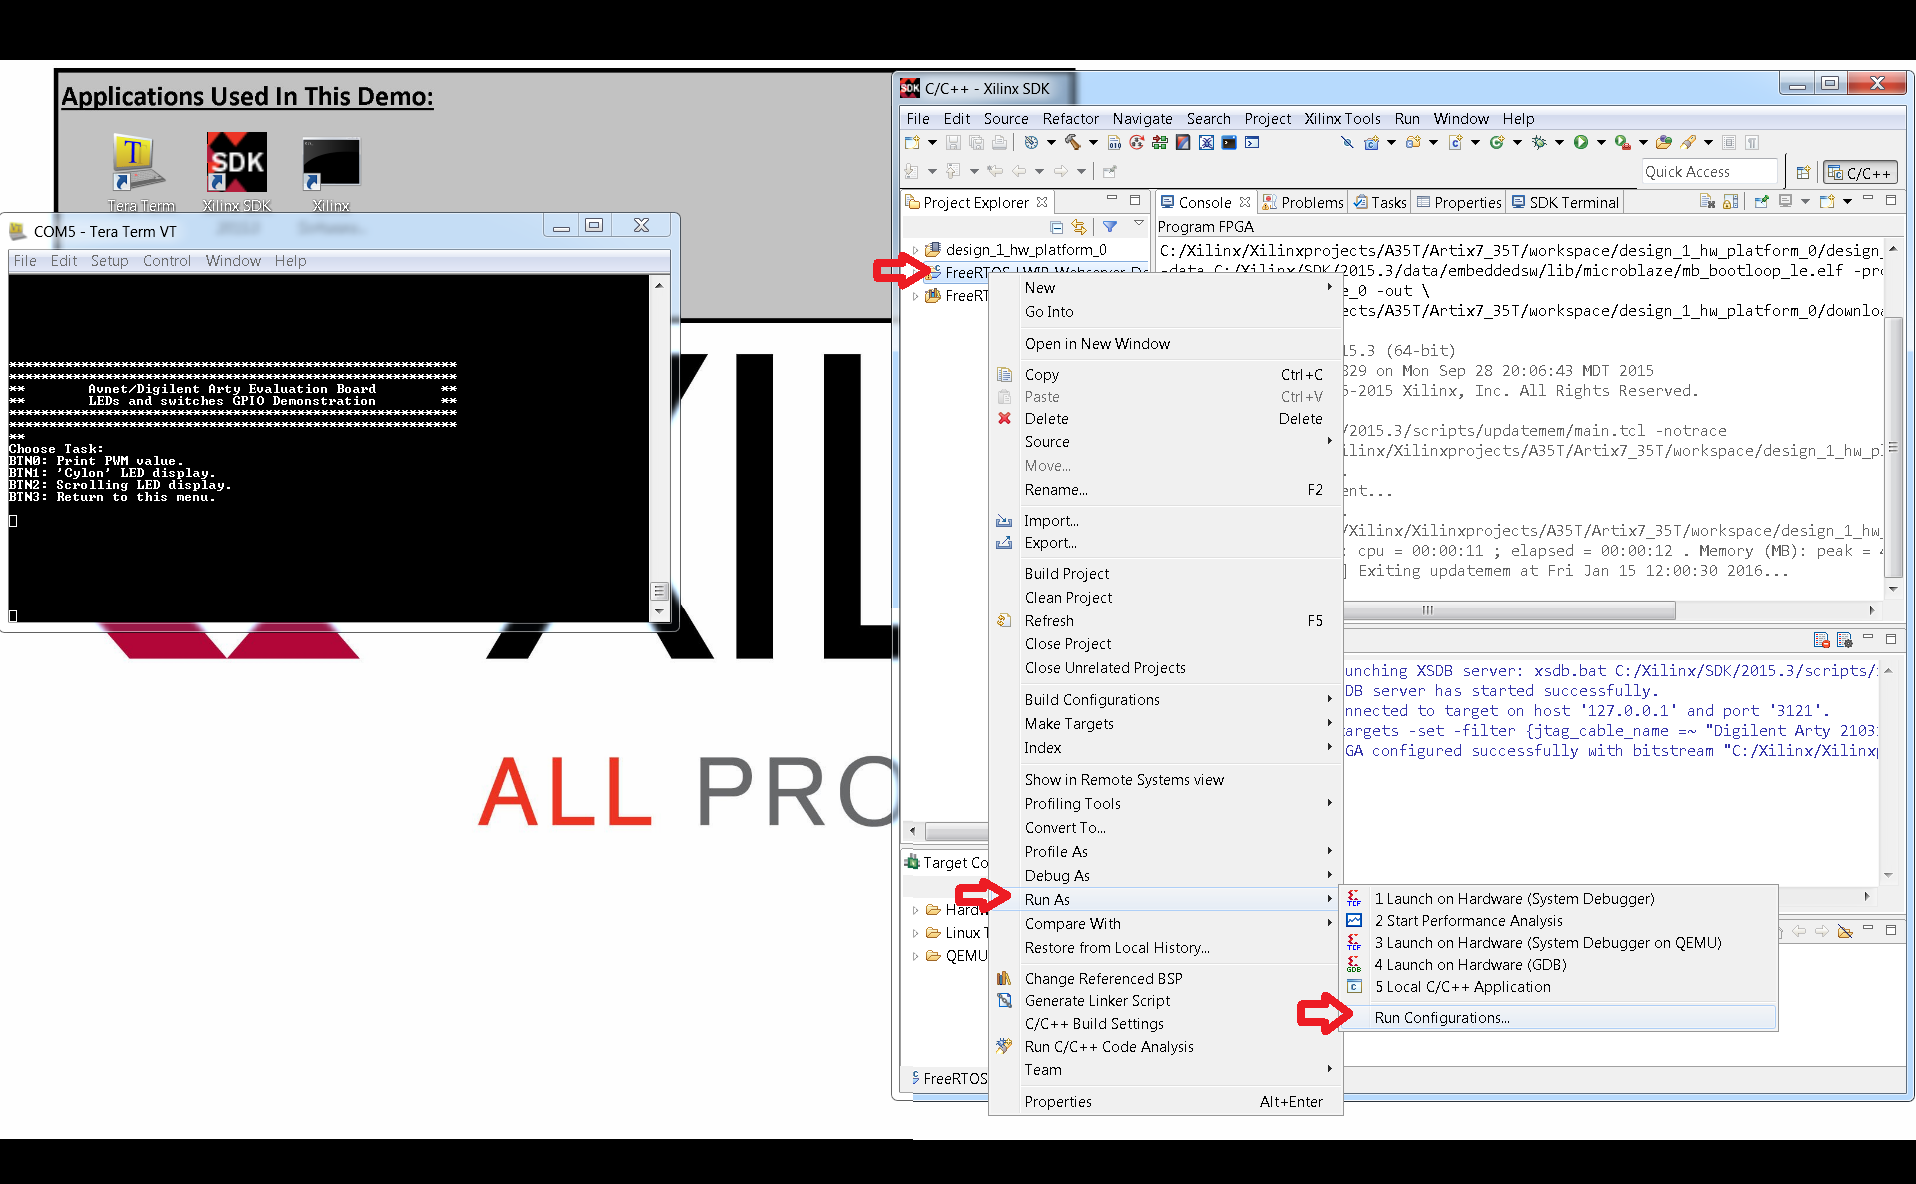
Click the Xilinx C/C++ application (System Debugger) option for a pull down. Then click on the pull down option: FreeRTOS_LWIP_Webserver_Demo Debug, then Run.
Go to Tera Term, and after the code has been run, the hyperlink should appear. Click on it, or copy it into an internet browser.
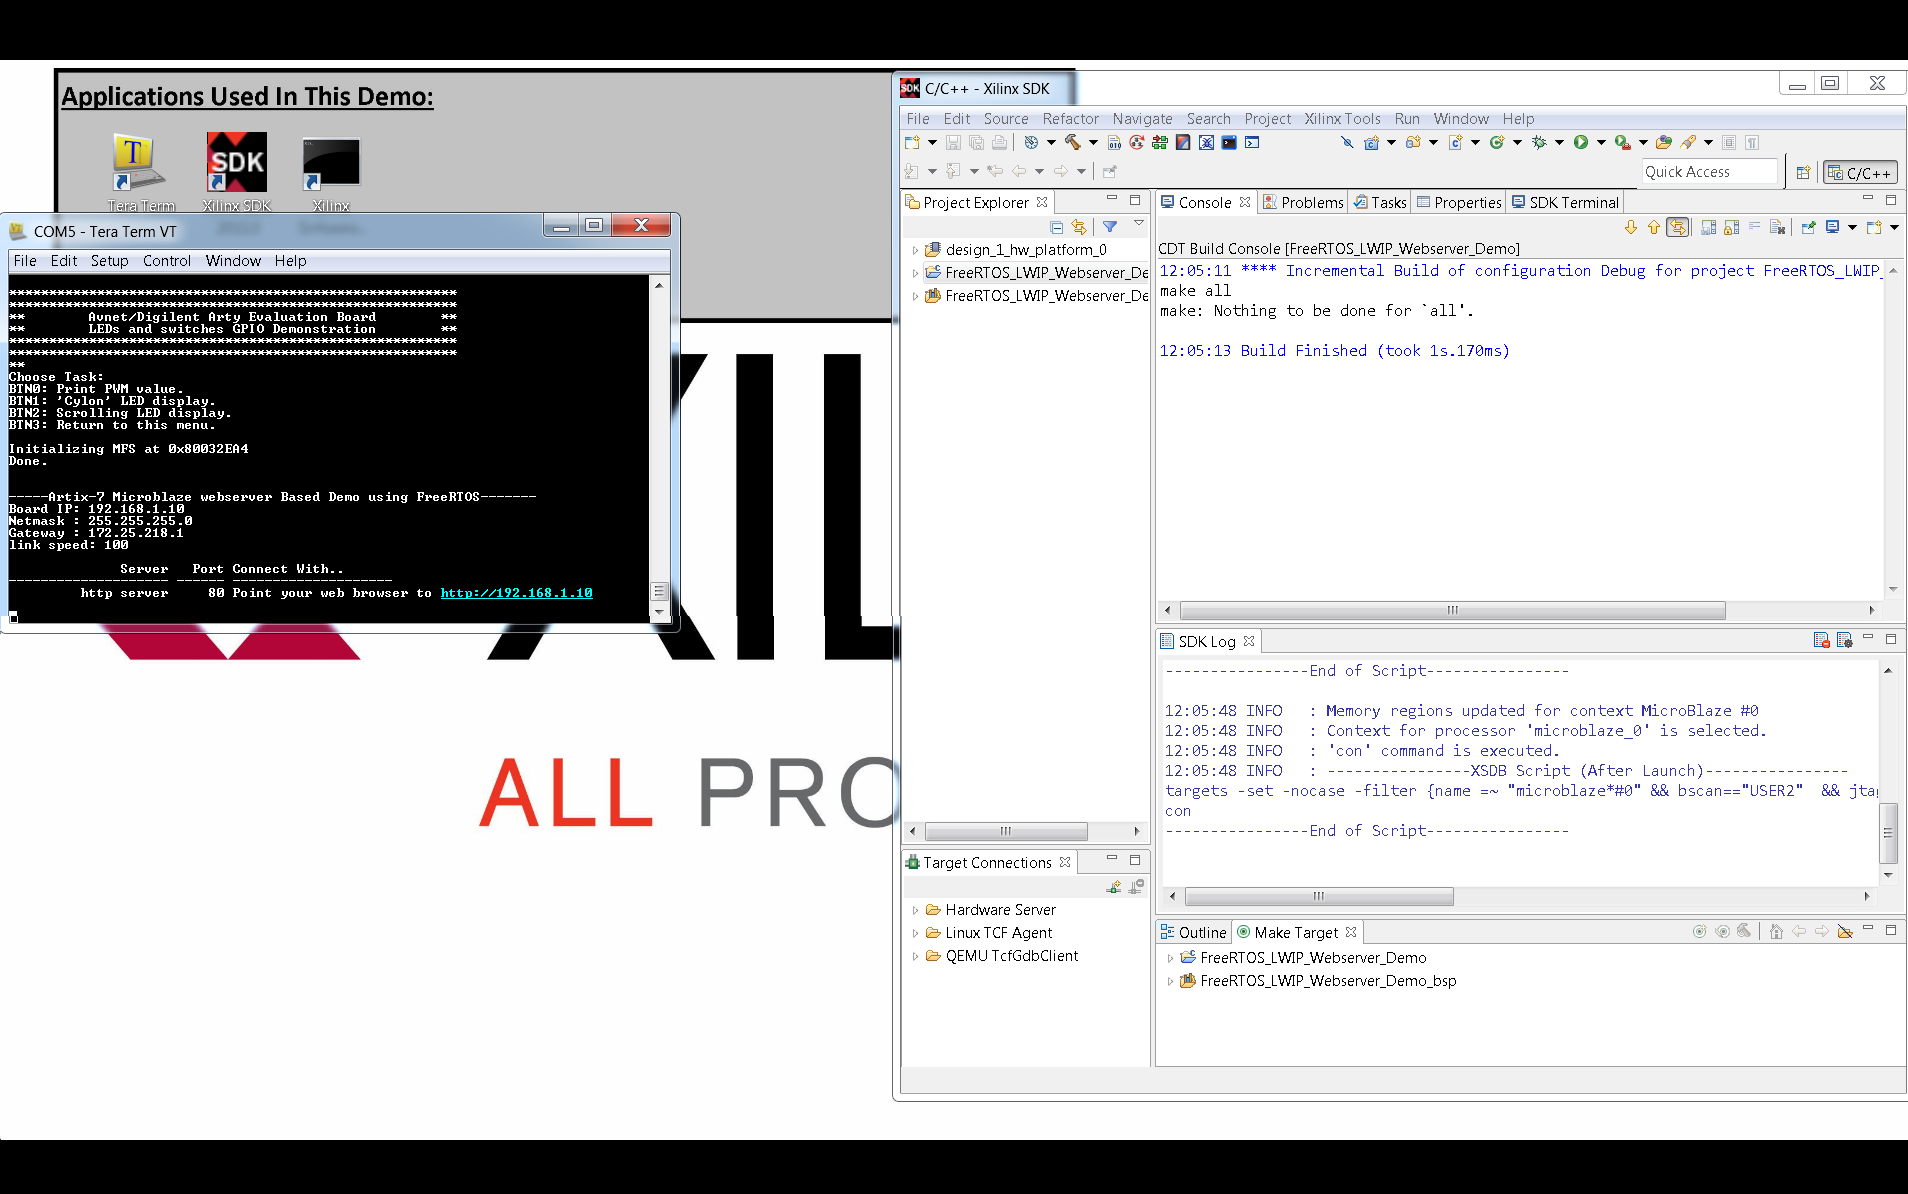
Run the demos and experiment with ARTY
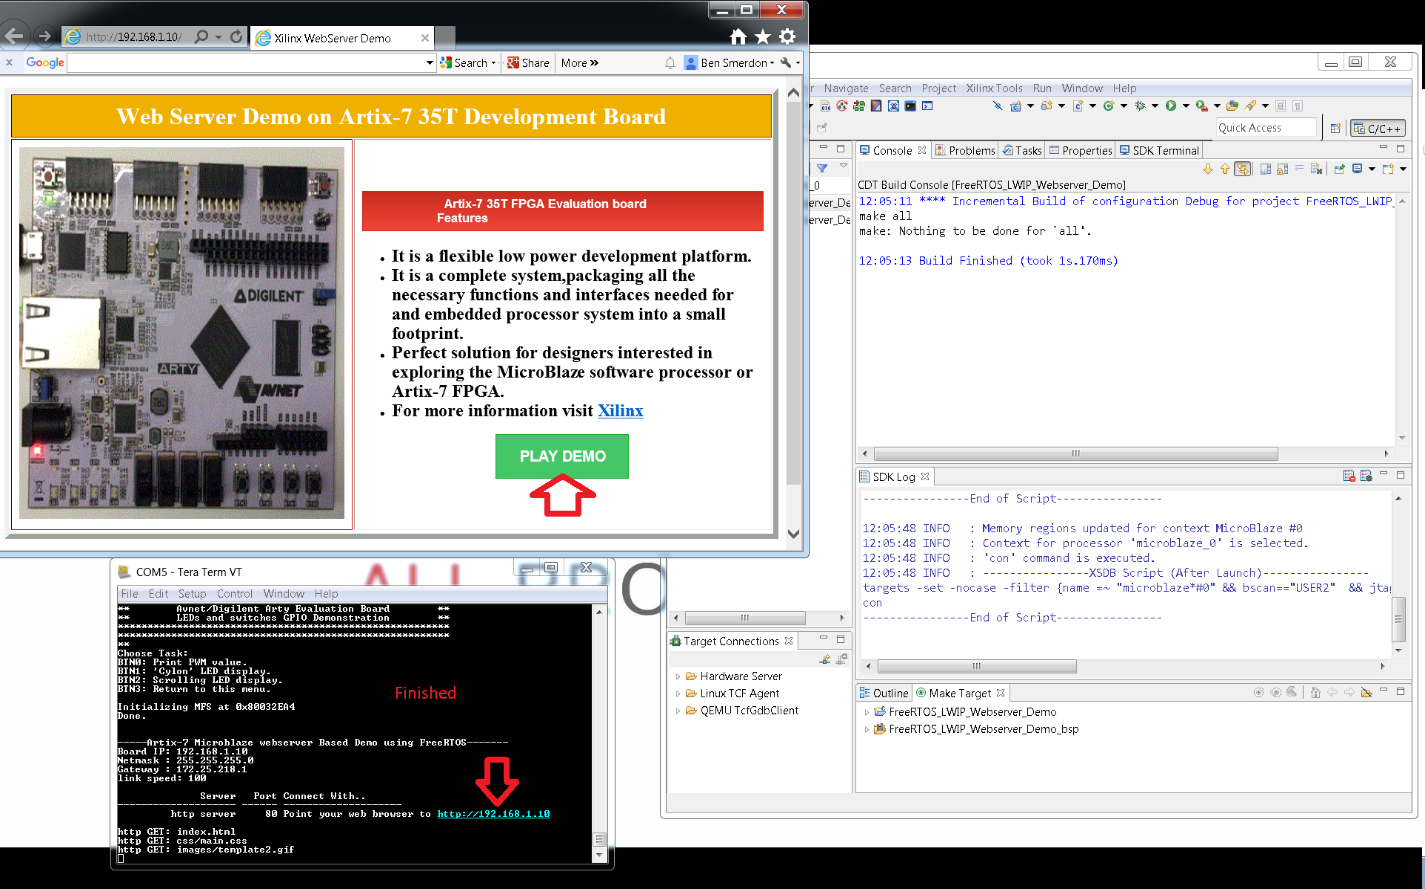
Finished!
, multiple selections available,
Related content
FreeRTOS
FreeRTOS
More like this
Vitis Unified Software Platform
Vitis Unified Software Platform
Read with this
Welcome to the Legacy Xilinx Wiki Home Page
Welcome to the Legacy Xilinx Wiki Home Page
More like this
RTEMS
RTEMS
More like this
MPSoC PS and PL Ethernet Example Projects
MPSoC PS and PL Ethernet Example Projects
Read with this
Kria SOMs & Starter Kits
Kria SOMs & Starter Kits
Read with this
© Copyright 2019 - 2022 Xilinx Inc. Privacy Policy