Zynq UltraScale MPSoC Base TRD 2017.1 - Design Module 1
Zynq UltraScale MPSoC Base TRD 2017.1 - Design Module 1
Return to the Design Tutorials Overview.Design Overview
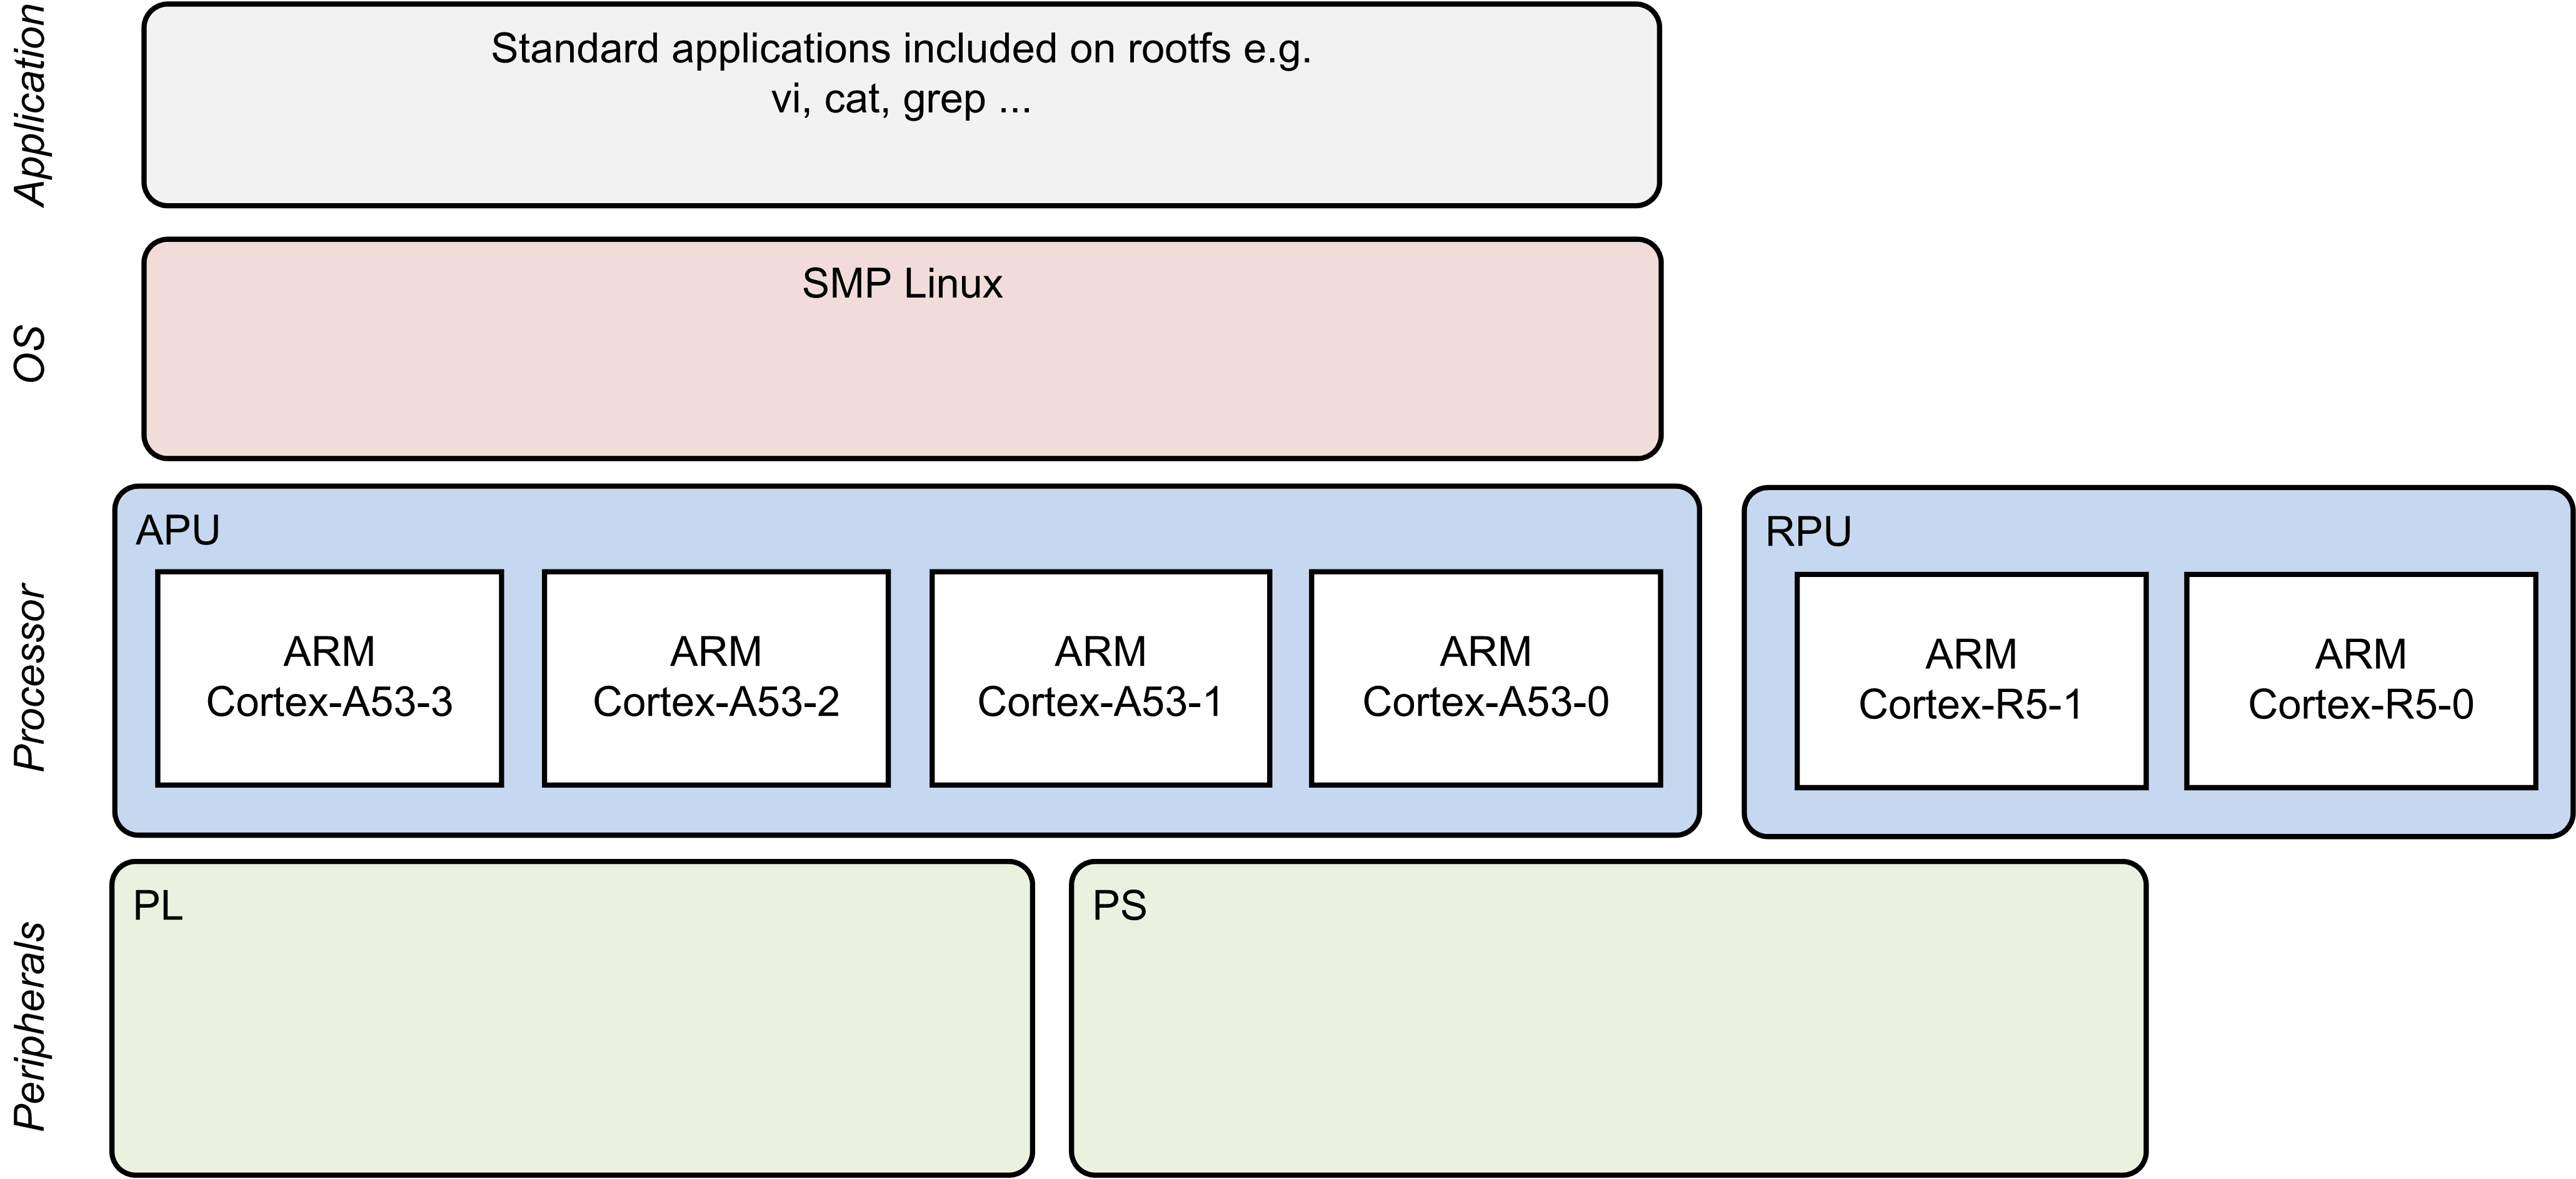
This design module showcases the following:
- Boot APU only
- FSBL, ATF, U-boot, PMU-FW
- APU OS: SMP Linux
- Ethernet via FTP/SCP
- Serial console via UART0
- File system via SD, USB or SATA
- Standard Linux applications on rootfs
Design Components
- petalinux_bsp
- zynqmp_fsbl
- pmu_fw
- bl31
- u-boot
- kernel
- device tree
- rootfs
Build Flow Tutorials
Petalinux BSP
This tutorial shows how to build the Linux image and boot image using the PetaLinux build tool.
- Configure the PetaLinux project.
% cd $TRD_HOME/apu/petalinux_bsp
% petalinux-config --get-hw-description=./hw-description --oldconfig
- Select the device-tree matching design module 5 and build all Linux image components
% cd project-spec/meta-user/recipes-bsp/device-tree/files/
% cp system-dm1.dts system-user.dtsi
% petalinux-build
% cd -
- Create a boot image.
% cd images/linux
% petalinux-package --boot --bif=dm1.bif --force
- Copy the generated boot image and Linux image to the dm1 SD card directory.
% mkdir -p $TRD_HOME/images/dm1
% cp BOOT.BIN image.ub $TRD_HOME/images/dm1
Run Flow Tutorial
- See here for board setup instructions.
- Copy all the files from the $TRD_HOME/images/dm1 SD card directory to a FAT formatted SD card.
- Power on the board to boot the images; make sure all power rail LEDs are lit green.
- The user can now see the linux-boot on the serial console:
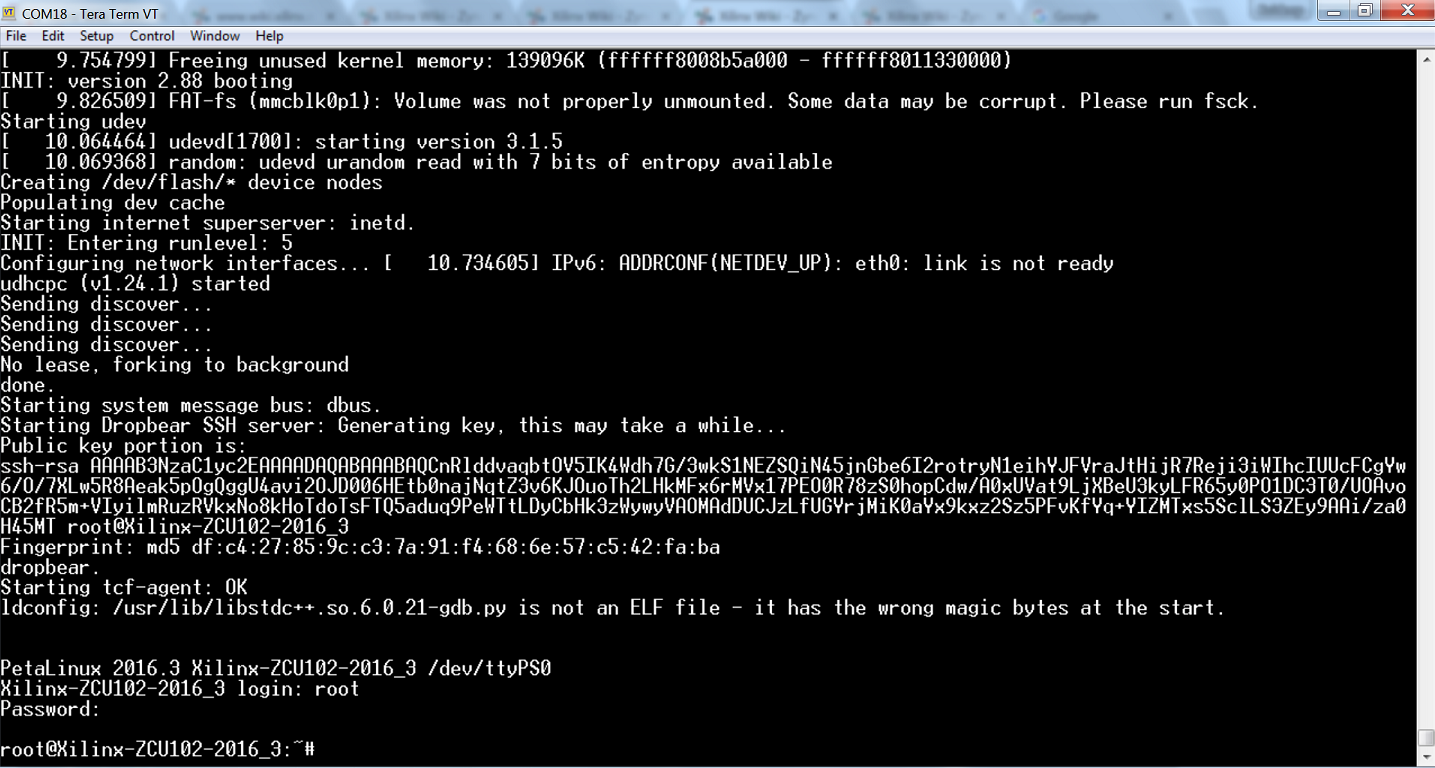
- Upon completion of the linux-boot, use the below login and password to log into the framebuffer or serial console:
root@Xilinx-ZCU102-2017_1 login: root
password: root
- The SD card file system is mounted at /media/card
References
- How to mount a USB3 or SATA hard drive:
http://www.wiki.xilinx.com/SATA
http://www.wiki.xilinx.com/Zynq+Ultrascale+MPSOC+Linux+USB+device+driver (under host mode)
© Copyright 2019 - 2022 Xilinx Inc. Privacy Policy