This is a starting resource for the Versal AI Core Series VCK190 Evaluation Kit it does not replace the official documentation of the Versal AI Core Series VCK190 Evaluation Kit that is on Xilinx.com.

Table of Contents
Introduction
VCK190 is the first Versal™ AI Core series evaluation kit, enabling designers to develop solutions using AI and DSP engines capable of delivering over 100X greater compute performance compared to current server class CPUs. With a breadth of connectivity options and standardized development flows, the VCK190 kit features the VC1902 Versal AI Core series ACAP, providing the portfolio's highest AI inference and signal processing throughput for cloud, network, and edge applications.
Getting Started
This section provides the pre-work, board setup and files needed to boot and run a couple of designs on the VCK190 board. You will need to down load files and applications to interface to the boards but will need no installation or knowledge of the Xilinx tools to run these on the VCK190.
Prep Work
You will need a terminal interface like Tera Term or PuTTY to interface to the UART to boot the VCK190 board. Please download your choice before getting started.
The next step is to down the the PetaLinux BSP from the Linux Prebuilt Images wiki page. The PetaLinux BSP will give you a pre-build image that will allow you to boot Linux and interact via a terminal to run some examples. Also included in the PetaLinux BSP is what is called an Out Of the Box (OOB) example that you can run a few demos via Jupyter Notes. Below are how to run each.
Board Setup
Board setup is quick and easy, the following are the instructions and diagrams for setup.

Running a design
For the two designs that you have download via the PetaLinux BSP for the VCK190 board here are the instructions to run them once you have prepared the SD card.
Set up a terminal session between a PC COM port and the serial port on the evaluation board. See below. Determine which COM to use to access the USB serial port on the VCK190 board. Make sure that the VCK190 board is powered on and a micro micro USB cable is connected between VCK190 board and host PC. This ensures that the USB-to-serial bridge is enumerated by the PC host.
Using Tera Term connect to the first Serial Connection, below is an example

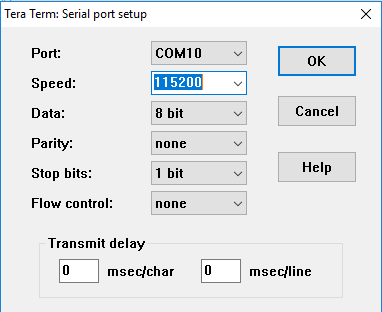
Click OK and and the Tera Term window will pop up. In the Setup change the serial port speed to 115200, this will match the speed of the UART on the VCK190.
Power up the board you will see the boot messages from the Versal ACAP 1910.2 and you will see a Linux Prompt in the Terminal Window. Log in with root as the user and the password. There is an AI Engine example that you can run.
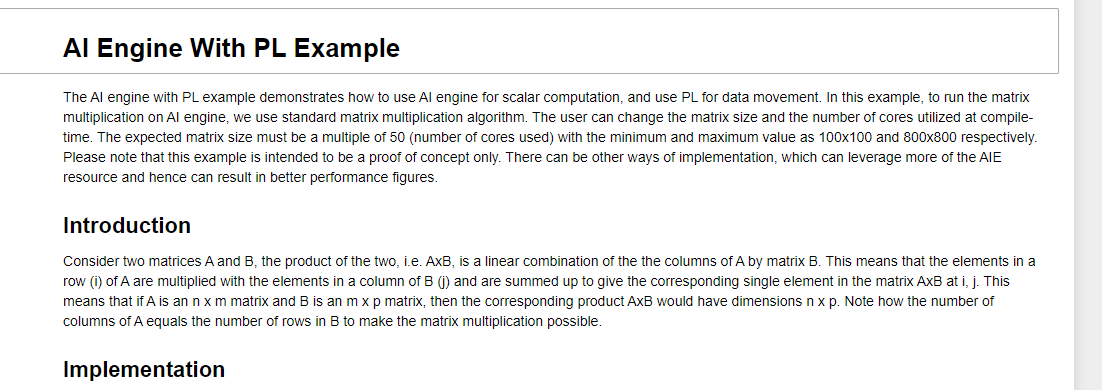
The AI engine with PL example demonstrates how to use AI engine for scalar computation, and use PL for data movement. In this example, to run the matrix multiplication on AI engine, we use standard matrix multiplication algorithm.The user can change the matrix size and the number of cores utilized at compile-time. The expected matrix size must be a multiple of 50 (number of cores used) with the minimum and maximum value as 100x100 and 800x800 respectively. Please note that this example is intended to be a proof of concept only. There can be other ways of implementation, which can leverage more of the AIE resource and hence can result in better performance figures.
Complete documentation on the example is at: https://github.com/Xilinx/plnx-aie-examples
root@xilinx-vck190-2020_1:~# cd /lib/firmware/aie
root@xilinx-vck190-2020_1:/lib/firmware/aie# aie-matrix-multiplication
Set up a terminal session between a PC COM port and the serial port on the evaluation board. See below. Determine which COM to use to access the USB serial port on the VCK190 board. Make sure that the VCK190 board is powered on and a micro USB cable is connected between VCK190 board and host PC. This ensures that the USB-to-serial bridge is enumerated by the PC host.
Using Teraterm connect to the first Serial Connection, below is an example
Click OK and and the Tera Term window will pop up. In the Setup change the serial port speed to 115200, this will match the speed of the UART on the VCK190.
Power up the board you will see the boot messages from the Versal ACAP 1910.2. At the end you will see the following.

Connecting to the Jupyter Notebooks.
To connect and run the Juypter Notebooks copy one of the URLs in the screen shot above. Note that if you have a VPN connected that you cannot get to the Jupyter Notebooks.
So for the example take - http://192.168.0.132:8888/?token=5114dfa08b8755f4f9704519216bfe9aa893c844130bec26 and paste it in a browser. You will see the following

As you can see there are three Jupyter Notebooks to select from. Here is a quick summary of what they do.
aie-notebooks - Demo how to use the AI engine for scalar computation,
openamp-notebook - Shows how the Cortex-A72 in Versal can launch an application on the Cortex-R5 (also in Versal).
pm-notebooks - Platform Management, there are 5 different examples
CPU Hotplug Demo- which CPU? or all CPUs?
CPU Frequency Scaling Demo - which CPU? or all CPUs?
CPU Clock Tree Demo- which CPU? or all CPUs?
PM Suspend-Resume Demo - suspending (and subsequently resuming) the state of the system to (or from) a low power state.
PM Subsystem Restart Demo - restarting a user-defined subsystem without affecting any other subsystem.
To run the notebook. Just bit the link, like aie-notebooks. The notebook will show up or as with the pm-notebooks you get another page that shows the 5 different notebooks for the Platform Management.

To run the notebook use the link, for above hit the aie-matrix-mulitplication.ipynb. And a Jupyter Notebook will come up in the next tab of the browser.
If you are unfamilar with running a Jupyter Notenoook there is documetnation at Jupyter/IPython Notebook Quick Start Guide. However if you just want to step through the notebook can just hit the

button on the top bar. This will step though each section of the notebook including the text portions. When you run through an executable section there will be a “In [ ]:” at the left side of the box. Once you run there will be number in the brackets. The screenshot below shows one executable run and the next one waiting to be run.

Developer Resources
Documentation
The following is a list of popular documentation for the VCK190 Evaluation Kit. You can also find additional information at VCK190 Documentation
Versal Example Designs
Listing and links to the many available example designs showcasing particular IP, Silicon features or tool flows targeting Versal ACAP devices.
Third Party Reference Designs
Xylon's ACAP Vision Development Kit
Xylon's ACAP Vision Development Kit includes 4 logiCAM-GMSL2 video cameras and a logiFMC-GMSl2 12-channel FMC board. Customers must acquire the VCK190 Versal AI Core Series Evaluation Kit directly from Xilinx. The video camera and FMC card can also be purchased separately.
Xylon's ACAP IP Framework provides all of the software and IP needed for an embedded multi-camera video application. The framework includes the complete reference design for Xylon's ACAP Vision Kit including Vivado IPI project, application software and demos.
Additional References
Prebuilt Images and PetaLinux BSPs are provided for production boards.
Pre Built Images
The VCK190 prebuilt images are on the Linux Prebuilt Images wiki page.
PetaLinux Board Support Packages (BSP)
PetaLinux Board Support Packages (BSP) includes pre built images, a design and all the necessary instructions to rebuild the pre-built images from scratch. With PetaLinux, developers can have their Xilinx-based hardware booted and running within about 5 minutes after installation; ready for application, library and driver development. The base design that is include can be used as a starting point for hardware developers while the instructions on how to rebuild the Linux image can be used as a starting point by the embedded software engineering to create a custom Linux image. The PetaLinux BSP can be download Linux Prebuilt Images wiki page.
Board evaluation and management (BEAM) tool
The Board evaluation and management (BEAM) tool is the main menu of the System Controller. It primarily serves as a launcher for demos and designs, running the board interface test and to set/change/read board parameters.
The BEAM tool is currently in OPEN BETA, please follow the instructions provided in the link below to proceed with the tool.
BEAM Tool for VCK190 Evaluation Kit
Xilinx Tools
The Xilinx tools provide all required tool chains to compile and link applications for Xilinx supported platforms, create and configure hardware designs, and create bitstreams.
Related Links
Product Page - https://www.xilinx.com/products/boards-and-kits/vck190.html
Product Specification - https://www.xilinx.com/products/boards-and-kits/vck190.html#specifications
Master Answer Record - https://xilinx.sharepoint.com/sites/xkb/SitePages/ArticleViewer.aspx?articleNumber=72739